Showing posts with label cream cheese frosting. Show all posts

Sunday, February 22, 2015

Chocolate Chip Cookie Cake

I like to watch the show Project Runway (she admits sheepishly). Every season they have one episode where the challenge is for the designers to create an Avant Garde look. This outfit is supposed to be exaggerated and conceptual, to push the boundaries of innovation and creativity. The Avant Garde look is meant to impress and inspire on the runway during fashion shows, but it’s not expected to be practical; it is free from the obligation of translating to everyday street wear.

In my opinion, today’s dessert falls in the category of Avant Garde baking. A friend told me about the concept a couple of weeks ago, and the idea kept lurking around the corners of my brain until I finally gave in and, after a few more clarification questions to said friend, tackled it (If I get diabetes next week, we all know who to blame). Anyway, about the Avant Garde thing: the finished product of this endeavor, this tower of cookie and frosting, sure is pretty to look at, and with nine layers and about five gallons of icing, it definitely pushes many boundaries (granted those include boundaries of rationality, wisdom, and caloric-intake...but pioneering nonetheless), yet ultimately, this creation is more of a showpiece than a practical dessert; one person could never eat one piece of this cake – even the tiniest sliver – on their own.  I had to quit after about four bites when I took my first sample piece this morning, and historically I have a freakishly high tolerance for rich, sugary things. I think I’m also a little disappointed with the flavor balance of the dessert because I really, really like a good, authentic chocolate chip cookie, so for me, the cream cheese frosting was more of a distraction than anything else.

The recipe I used was adapted from Martha Stewart. Her version made 5 thicker layers. I squeezed 9 out of the same amount of batter. I also used a different frosting recipe since a few of the comments on the cake found fault with the original. The frosting I ended up making (recipe here) worked out well. I liked how it held its consistency at room temperature, and the whipped cream tempered the intensity of the cream cheese nicely. That being said, less would still have been better, especially toward the top layers when I realized how much extra frosting I was going to have and, instead of deciding to save it for later like a logical person, I decided to start globbing it on so I could use it all. Poor choice, Taber, poor choice.

To prepare and bake he cookie layers, Martha said to use a spatula to spread the raw dough into 8-inch rounds. I found that laying down a piece of waxed paper on top of each lump of batter and using my hands to shape the discs was much more effective. My silicon baking-sheet liners also came in extremely handy to keep the finished cookies from sticking to the pan when I transferred them to wire racks to cool.

Like I intimated before, the next time I make this recipe I would be much more conservative with the application of the frosting – just adding enough to get the layers to stick together, and I would also adjust the frosting recipe to use less sugar since the cookie is sweet enough on its own.


I hope I haven’t griped too much. This was a really fun recipe to make, and I’m sure my friends and co-workers will be happy to help me chip away at Cookie Cake Mountain over the next few days before it collapses entirely under the weight of its own frosting. 


Chocolate Chip Cookie Cake
adapted from Martha Stewart

For the Cookies:
4 cups all-purpose flour
1 1/2 tsp baking soda
1 1/2 tsp salt
12 Tbsp unsalted butter, softened (I doubled Martha's suggestion, because: America)
1 1/2 cups packed light brown sugar
3/4 cups granulated sugar
3 tsp pure vanilla extract
2 large eggs, plus 2 egg yolks
3/4 cup heavy cream
3 cups semi-sweet chocolate chips (mini chips work best for thinner layers)

For the Frosting:
2 8oz. packages cream cheese at room temperature
1/2 cup granulated sugar (use more or less to taste; this is half what the original recipe called for)
1 tsp pure vanilla extract
2 cups heavy cream
The will power to not use all of this frosting if you don't really need to. Seriously.

Directions
Preheat oven to 350 degrees. Whisk flour, baking soda, and salt in a medium bowl. Put butter, brown sugar, and granulated sugars in the bowl of a stand mixer with paddle attachment and beat at medium speed until pale and fluffy. Mix in vanilla, eggs, and yolks. Reduce speed to low. Add flour mixture in a little at a time, alternative with the cream. Mix until all ingredients are incorporated. Stir in chocolate chips by hand.

Divide batter into 3-4 portions. Wrap each in waxed paper and refrigerate for at least 1 hour. Work with one portion at a time. Use a pastry cutter to divide each portion into 2-3 sections. Place each section on a baking sheet lined with parchment or a silicon baking mat. Put a loose sheet of wax paper over the section and use your hands to press the dough into an 8-inch disc. Peel the wax paper off when you're done and use it for the next section. These will have to be done in batches depending on how many baking sheets you have and how big your oven is. Leave waiting dough in the refrigerator so it doesn't get soft and difficult to work with in the meantime. 

Bake each disc until edges are pale golden brown, about 10 minutes. Bake time will vary depending on how many discs you bake at once and how thick you've made them, so watch the first batch carefully and adjust as needed. After the first 10 minutes, remove partially-baked cookies from oven and use an offset spatula to gently reshape the dough into a uniform circle. Return to oven and bake for 8-10 minutes more until edges are golden brown and center has set up. Gently remove from baking sheet and lay on wire rack to cool. Finished discs can be stored in an airtight container for up to 1 day. 

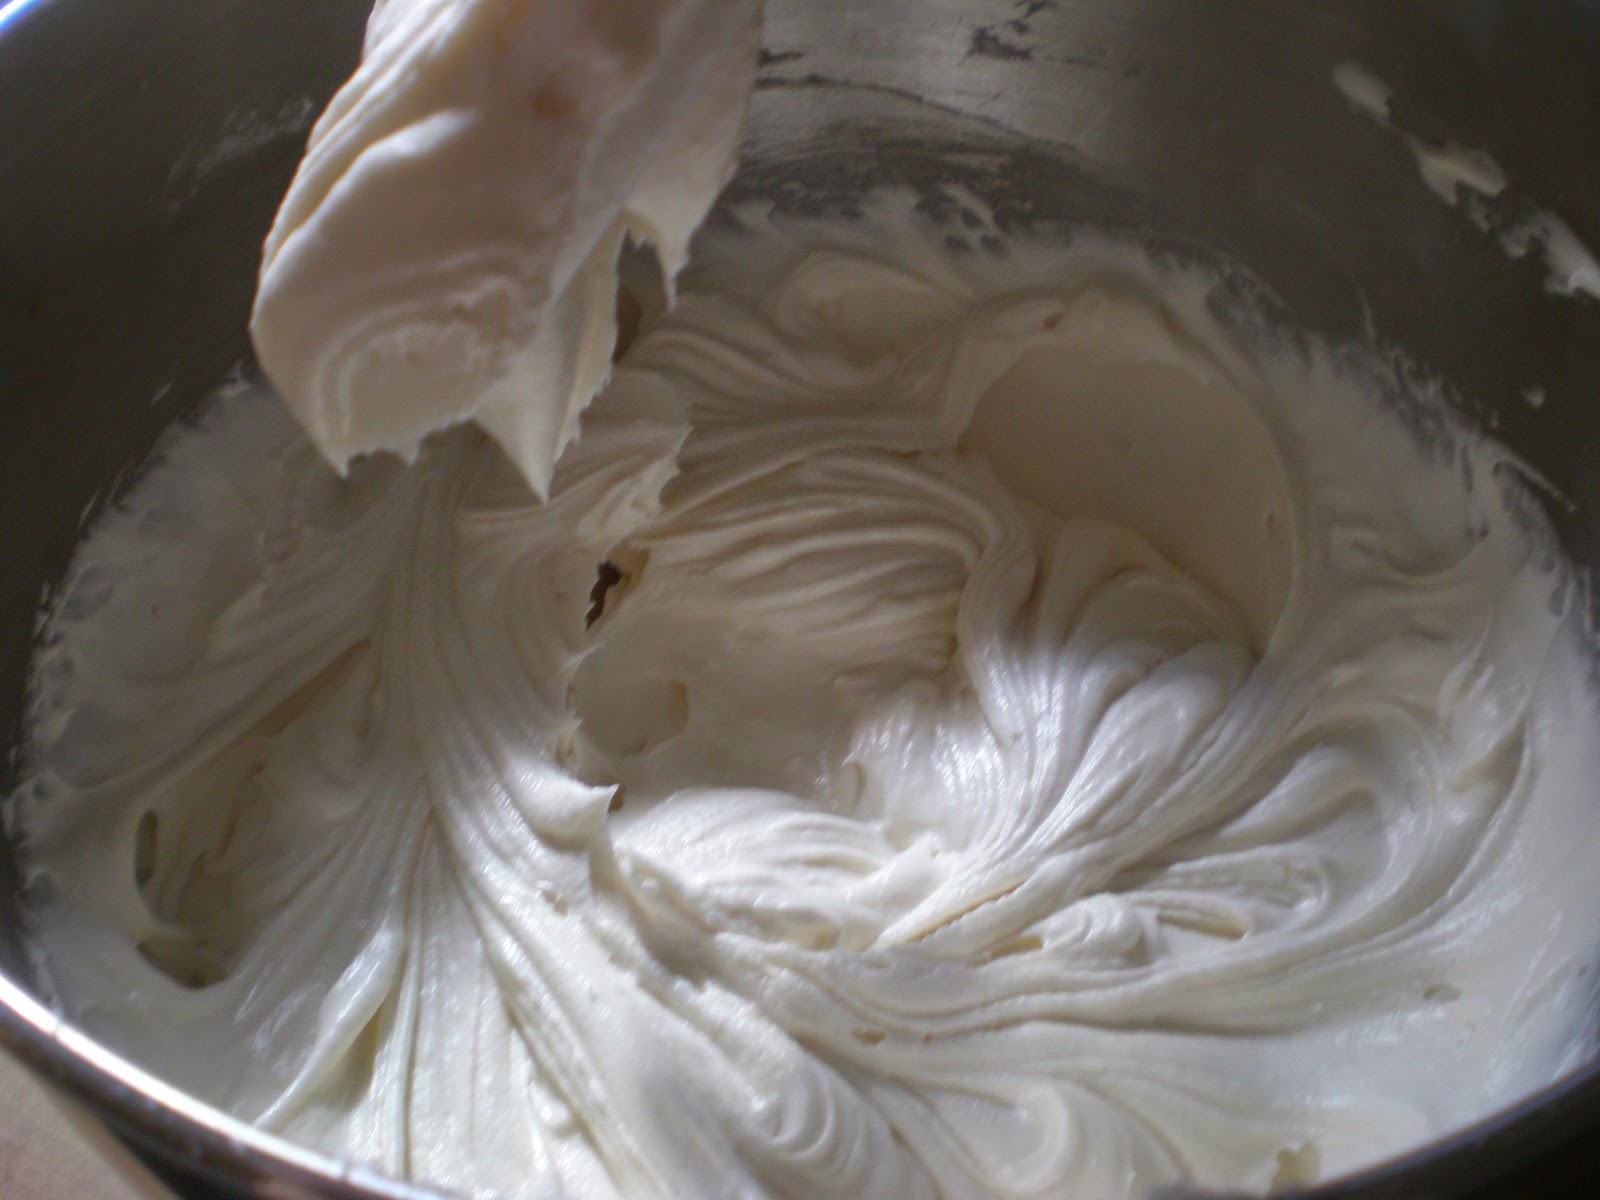
Once the cookies are all cooled completely, make the frosting. Combine the cream cheese, granulated sugar, and vanilla by mixing on medium until all ingredients are incorporated and texture is fluffy. Transfer the mixture into a large mixing bowl and wash the stand mixer's bowl. Use the whisk attachment to whip the heavy cream until stiff peaks form. Gently fold the whipped cream into the cream cheese mixture by hand. Do not over mix.

To assemble, spread a thin (THIN, people!) layer of frosting over all but one of the discs, then stack them as evenly as possible. If the sizes aren't exactly the same, then clearly you've failed and should never lift a spatula again. No, seriously, try to put the larger cookies on the bottom for stability. Extra frosting can be used as a garnish, and I shaved about 2 oz. of 78% cacao chocolate over the top for visual appeal. 

Let the cake (is that the appropriate label for this dish? I keep calling it 'the tower' or 'the mountain' when I describe it to my friends) sit for at least an hour so the cookies can soften a little (they'll soak up some of the frosting) to prevent crumbling when you cut into it. Then slice and serve. It's extremely rich, so use small portions.

The frosting doesn't need to be refrigerated to hold its consistency, so leftovers can be kept at room temperature or refrigerated.


Sunday, September 14, 2014

Tomato Soup Cake

With a name like Tomato Soup Cake, today’s project sounds like it belongs in the same club as the chocolate beet concoction I made a few weeks ago – that is, the club for sophisticated, progressive savory/sweet combinations that have only recently emerged on the trendy edge of the modern dessert scene. But it’s not. Not at all. Tomato Soup Cake became popular during The Great Depression when supplies were scarce and therefor precious. This recipe capitalizes on the attitude of improvising  with whatever is cheap and available to make do in the kitchen, and the finished product doesn’t carry any tomato flavor at all; instead it’s a traditional spice cake, which is perfect for the sudden onset of fall weather we’ve had this weekend.  

The recipe I used came from the Heirloom Recipes section of Food52, and the only variations I had to implement were to reduce the baking time to 25 minutes and ditch the raisins. Cutting the raisins was only because they hover near the top of the very, very short list of Foods I Don’t Care to Eat (beets are up there too, obvi). The Food52 recipe asks you to provide your own cream cheese frosting, and since bakers in the Depression didn’t have Pilsbury frosting in a can, I opted to make my own using this easy recipe from food.com.

Coincidentally, there have very recently been a few other developments in my kitchen that have made me feel a particular empathy for Depression-Era conditions.  For instance, I was mightily dismayed to discover weevils in my flour jar last week (don’t worry, I sifted them out before making that peach pie crust…and if I missed any, well, extra protein can’t hurt…). I’ve also been engaged in a battle of wits with a mouse family trying to colonize my pantry since August. Once I went on the offensive in earnest, they cleared out pretty quickly, and instead of freaking out about the idea of those little turds getting near my food supplies (grossgrossgross), I remembered to be tough like Eleanor Roosevelt (…or some other 1930’s female  icon. Can you think of any? That’s all I got at the moment). The final, less graphic but no less disheartening Depression-esque thing to happen to me was learning that there is a hole somewhere in the right sole of one of my oldest and favorite pairs of shoes. Of course I didn’t realize this until I tried to wear them out in the rain, so not only was I bummed about their gradual yet inevitable demise, I also had wet socks for the next few hours. DOUBLE BUMMED. Oh, and I own and recently used a candle made out of a tin can. This is merely a faux-Depression-Era detail because said candle came from Anthropologie so it’s designed to be ‘vintage chic’ and it probably cost the equivalent of more than a dozen cans of tomato soup (it was a gift, okay? And it smells awesome #noshame #wellnotthatmuchanyway).

I share these details not to be off-putting (my pantry has since been sanitized top to bottom and there’s brand new, weevil-free flour ready to go for today), but because I want to show my unwavering solidarity with the first generation to make and enjoy this cake. So imagine me wearing a pickle barrel with straps instead of an apron today as I put this recipe together.

Quick sidebar before we go any further, the universe was further pandering to my Great Depression focus this week when I was procrastinating on facebook and stumbled across a collection of photos taken in Washington state in the early 1930’s. The albums feature employees of a lumber mill in Grays Harbor County and fruit pickers in Yakima along with some shots from the Boeing plant in Seattle. I could look at this kind of thing for hours, so if you’re similarly inclined to surrender your imagination to The Past for a little while, go have a look – besides the pictures chosen for the page, there’s a searchable database. I’ll bet some of these people knew what tomato soup cake tasted like.


All right, back to the kitchen. The first thing I did was prepare my little jars and assemble the ingredients in all of their low-budget glory. The jars were prepped the same way as for the beet cakes – I cut parchment paper discs to fit in the bottoms (does somebody want to start mass producing those? I’d pay at least a moderate amount for some uniform, pre-cut rounds of parchment) and covered the jars in a thin layer of Crisco. For the beet cakes, I used a similar technique which made removal very easy, and I planned on doing the same two-layer technique with these cakelets. 


As for the ingredients, you can see for yourself how they would fit very easily into a 1930's pantry. I ended up finding some shortening in my cupboard, so even though you’re seeing butter, I actually used Crisco in the cake. Initially I was surprised that salt wasn’t one of the ingredients…until I remembered tomato soup has just a little bit of salt in it.


Like most vintage recipes, this one was pretty light on the details. I’m sure our grandmothers all knew the baking order of operations by heart, so specifics like what to sift and what to soften didn’t need to be written down.  I tried to follow the standard rules I’ve seen in typical cake recipes, so I sifted together the dry ingredients first, then creamed the shortening and sugar, added the other wet ingredients to the mixing bowl, and finally added the dry ingredients a little at a time.


When it was done everything looked pretty ok, so I must have done all right with my ingredient assembly ad lib.


I hustled the batter into my jars and popped them in the oven for 25 minutes. The spices became very aromatic as they were baking, and my kitchen smelled great by the time they came out. They sat in their jars for about 10 minutes, and then I transferred them onto wire racks to cool completely. This is also the point where I cleaned the jars and prepared the frosting. I ended up getting 19 little cakes, but after see how much they rose, I could have filled the jars less and squeezed an even two dozen out of the batter, I'll bet.


Cream cheese frosting assembly. So simple but so good.


Like the beet cakes, this original recipe was for a two-layer cake, so I cut each of mine in half to create the same effect. Plus there’s room for more frosting this way. 

There were a few anomalies in terms of the proportions of layers to frosting. Here you can see the Goldilocks Effect as I figure out how to best slice each piece. 


Too tall. 


Too short (and a little ugly).


Just right. As soon as I got the hang of it, there were lots of these.

In trying to stay true to a Depression-Era mentality throughout this whole recipe, I felt a little guilty about all of the cake tops that were unused when I trimmed down and sliced the cakes. I ended up with quite a pile of extra, and it seemed like Eleanor Roosevelt would be very disappointed to see these go to waste. So, channeling the WPA, I found some ingenuity and decided to make cake sandwiches with the left-over cake bits and frosting. 


The result was not disappointing AND much easier to eat on the go than a cake in a jar. These happy little accidents may be breakfast for the next week or so. As I drive to work, perhaps I'll munch my tomato soup cake sandwich and pretend I'm driving to California to start a new life just like the Okies  who probably also had to get on the road before sunrise. I hope they had cake for breakfast once in a while, too. 


Tuesday, August 19, 2014

Chocolate Beet Cake with Cream Cheese Frosting

I've recently become acquainted with a garden owner/constant veggie source, which is paradoxically awesome and problematic; while I thoroughly enjoy frequent access to fresh-grown produce, I have nurtured a deeply-entrenched dislike for beets for more than three decades. Yet they keep showing up at my house, furtively mixed in with zucchini, tomatoes, spaghetti squash, and various and sundry herbs. Thankfully, the internet exists, and there are a plethora of ways to use beets in recipes whose final products don't taste like they contain beets. In particular, I was intrigued by the beet chocolate cake recipe I kept coming across, so that is the topic of today's baking adventure. (I know last time I promised you peaches. I'm a beet-inundated liar, what can I say? Next time, there will probably be peaches).

After comparing various version of this recipe, I chose this variation from The Modern Cook for two reasons. First, it didn't try to pressure me into adding a beet-flavored frosting to my beet chocolate cake like so many of the others did (In college we used to love the "How Many Is Too Many" game. I believe it originated with Oreos, but can apply to so many life situations...like beet cake with beet frosting. Seriously? Please). The Modern Cook's recipe called for adding two cups of beet purée to a generous helping of cocoa powder, sugar, and other normal baking ingredients, and then topping the cake with regular cream cheese frosting, all choices to which my beetoclastic pallet and I were amenable. Second, I had all of the ingredients for the cake and frosting already in my pantry and fridge. Decision made.


So here are what cooking beets look like. They needed to be soft before I could purée them, so into the pot they went. The cooking process took more than half an hour, and by the time it was done, my kitchen was a humid, beet-smelling jungle.


After they were soft enough, I peeled off the skins and cleaned up the hairy, root-ingrown pockets. Everything from my cutting board to my fingernails was pink.


The beet chunks went into the food processor and puréed for a few minutes. This is probably when the smell was at its earthiest, and I was having serious doubts about my decision to try to bake with ingredients that make my stomach quiver...in the bad way.


Once the beet-preparing portion of the recipe was complete, things started feeling much more dessert-like in this recipe. I added the eggs, butter, sugar, and dry ingredients, which, when coupled with the beets, created a delightfully pink batter.


Also, while the beets had been cooking, I prepared my 4oz. jars with non-stick spray and hand-cut parchment paper discs in the bottoms. The batter, originally intended for two 9-inch cake pans, filled 2 dozen jars.


The first adjustment I had to make to the original recipe was to reduce the bake time from 45 minutes down to 30 for my little jars. When half an hour had passed, a toothpick inserted into their middles told me that my cakelets were done, so I took them out, let them stand for about 10 minutes, and then cooled them on wire racks while I prepared the (mercifully beet-free) cream cheese frosting.


The second adjustment I made was to double the frosting recipe. The prescribed amount may have been enough for two layers of 9-inch round cakes, but for me to adequately fill two layers of little jars, I needed a little (ok, who am I kidding...a lot) of extra to work with. While the cakes cooled and I made the frosting, I made sure to run my jam jars through the dishwasher so they'd be clean and dry for the next steps.


After making the frosting, I transferred it into a quart-sized plastic zipper bag (we call those "poor-girl's pastry bags" in this kitchen) and let it chill in the refrigerator for 20-30 minutes so it was easier to work with. Then I went through the process of slicing each cakelet in half, replacing the bottom half in a newly-cleaned 4oz jar, adding the first layer of frosting, setting the other half of cake on top, and finishing things off with a generous second helping of frosting. This may sound tedious, but I surrendered to my OCD tendencies and had a ball making everything even and pretty and nice.


The finished products were uniformly adorable. When I taste-tested them, I swear I could still detect a (fairly strong) hint of beet flavor, but maybe I'm being oversensitive. I'm going to do some blind sampling with my colleagues at work, and we'll see if they can pick out the mystery vegetable haunting the recesses of this dessert's flavor profile. 


My admittedly-subjective and unfounded beet prejudices aside, these cakes were moist, and the sweet, tangy frosting was the perfect complement to their rich flavor. Maybe, just maybe, by the time I finish devouring all of these cuties, I'll have acquired a new-found tolerance for the freak of nature that is The Beet (but let's not hold our breath).