With a name like Tomato Soup Cake, today’s project sounds
like it belongs in the same club as the chocolate beet concoction I made a few weeks ago – that is, the club for
sophisticated, progressive savory/sweet combinations that have only recently emerged
on the trendy edge of the modern dessert scene. But it’s not. Not at all.
Tomato Soup Cake became popular during The Great
Depression when supplies were scarce and therefor precious. This recipe
capitalizes on the attitude of improvising with whatever is cheap and
available to make do in the kitchen, and the finished product doesn’t carry any tomato flavor at all; instead
it’s a traditional spice cake, which is perfect for the sudden onset of fall
weather we’ve had this weekend.
The recipe I used came from the Heirloom Recipes section of Food52, and the only variations I had to implement were to reduce the baking time to 25
minutes and ditch the raisins. Cutting the raisins was only because they hover
near the top of the very, very short list of Foods I Don’t Care to Eat (beets are
up there too, obvi). The Food52 recipe asks you to provide your own cream cheese
frosting, and since bakers in the Depression didn’t have Pilsbury frosting in a
can, I opted to make my own using this easy recipe from food.com.
Coincidentally, there have very recently been a few other
developments in my kitchen that have made me feel a particular empathy for Depression-Era conditions. For instance, I was mightily dismayed to
discover weevils in my flour jar last week (don’t worry, I sifted them out
before making that peach pie crust…and if I missed any, well, extra protein can’t
hurt…). I’ve also been engaged in a battle of wits with a mouse family trying
to colonize my pantry since August. Once I went on the offensive in earnest,
they cleared out pretty quickly, and instead of freaking out about the idea of
those little turds getting near my food supplies (grossgrossgross), I
remembered to be tough like Eleanor Roosevelt (…or some other 1930’s female icon. Can you think of any? That’s all I got
at the moment). The final, less graphic but no less disheartening Depression-esque
thing to happen to me was learning that there is a hole somewhere in the right
sole of one of my oldest and favorite pairs of shoes. Of course I didn’t
realize this until I tried to wear them out in the rain, so not only was I
bummed about their gradual yet inevitable demise, I also had wet socks for the
next few hours. DOUBLE BUMMED. Oh, and I own and recently used a candle made
out of a tin can. This is merely a faux-Depression-Era detail because said
candle came from Anthropologie so it’s designed to be ‘vintage chic’ and it probably
cost the equivalent of more than a dozen cans of tomato soup (it was a gift,
okay? And it smells awesome #noshame #wellnotthatmuchanyway).
I share these details not to be off-putting (my pantry has since
been sanitized top to bottom and there’s brand new, weevil-free flour ready to
go for today), but because I want to show my unwavering solidarity with the
first generation to make and enjoy this cake. So imagine me wearing a pickle
barrel with straps instead of an apron today as I put this recipe together.
Quick sidebar before we go any further, the universe was
further pandering to my Great Depression focus this week when I was
procrastinating on facebook and stumbled across a collection of
photos taken in Washington state in the early 1930’s. The albums feature
employees of a lumber mill in Grays Harbor County and fruit pickers in Yakima
along with some shots from the Boeing plant in Seattle. I could look at this
kind of thing for hours, so if you’re similarly inclined to surrender your
imagination to The Past for a little while, go have a look – besides the
pictures chosen for the page, there’s a searchable database. I’ll bet some of these
people knew what tomato soup cake tasted like.

All right, back to the kitchen. The first thing I did was
prepare my little jars and assemble the ingredients in all of their low-budget
glory. The jars were prepped the same way as for the beet cakes – I cut
parchment paper discs to fit in the bottoms (does somebody want to start mass
producing those? I’d pay at least a moderate amount for some uniform, pre-cut
rounds of parchment) and covered the jars in a thin layer of Crisco. For the beet cakes, I used a similar technique which made removal very easy, and I planned on doing the
same two-layer technique with these cakelets.

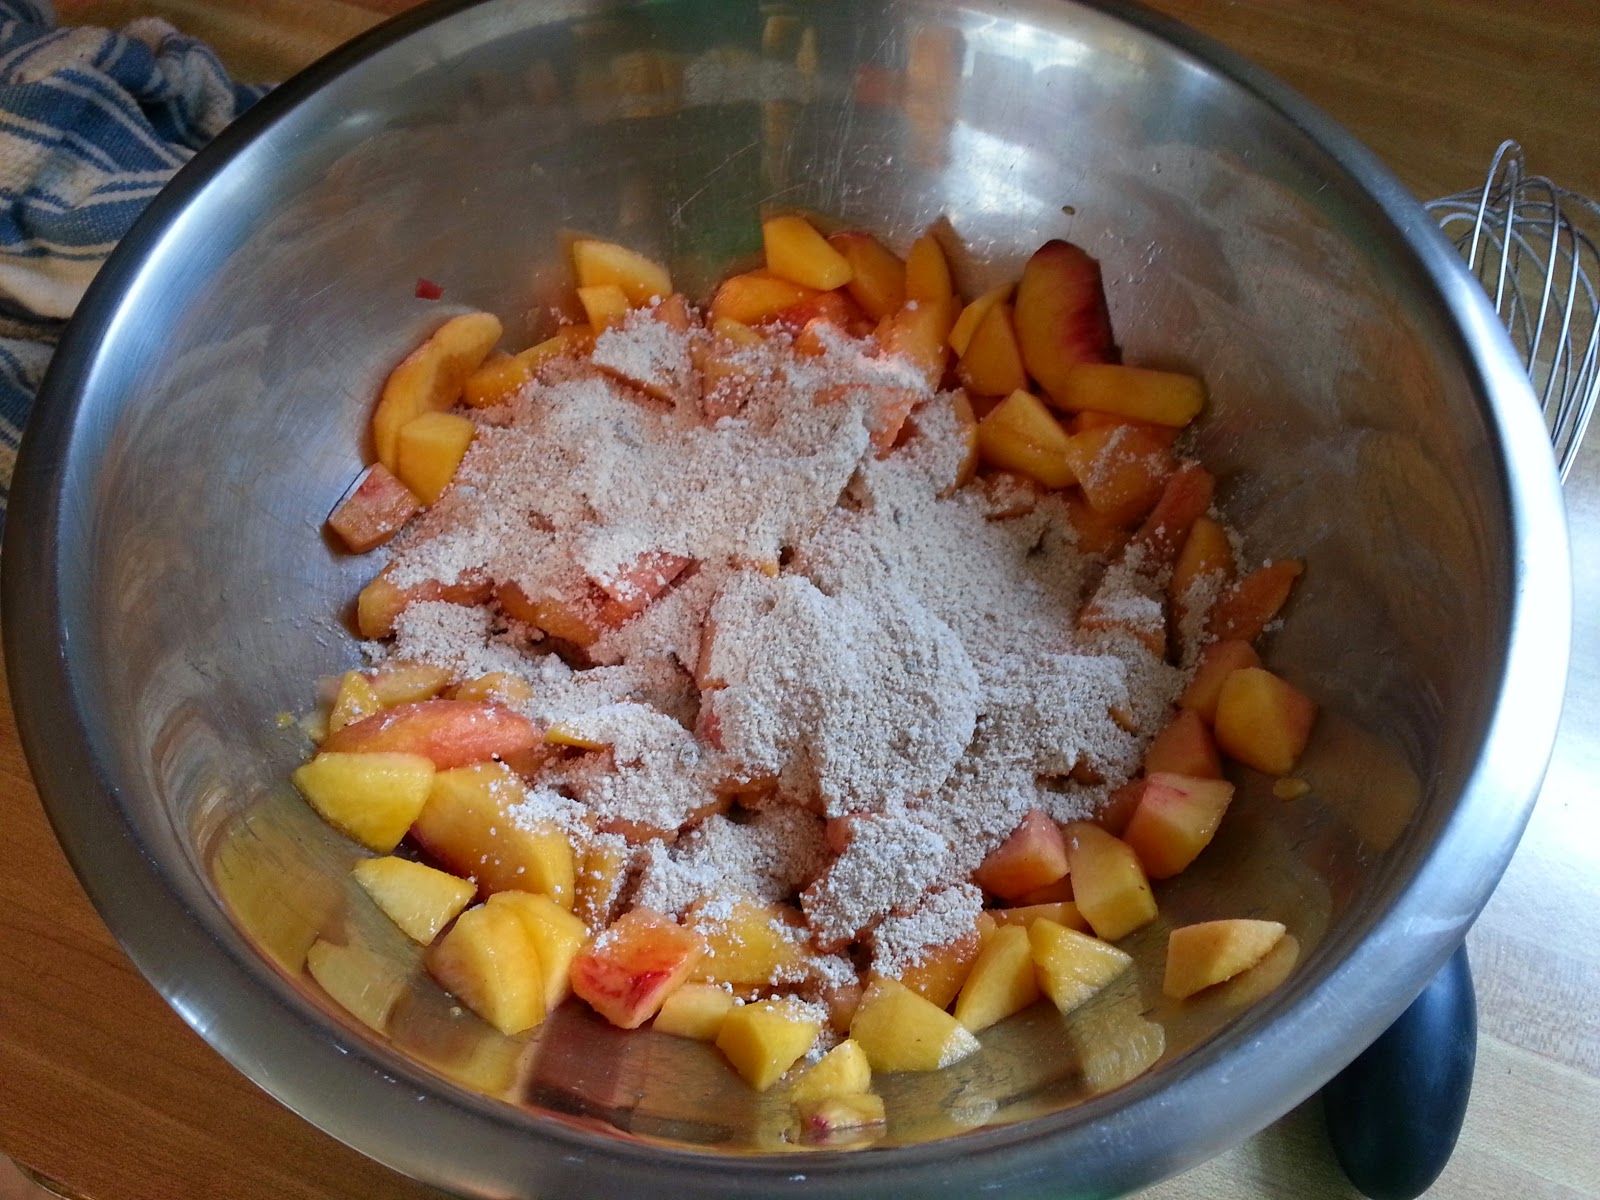
As for the ingredients, you can
see for yourself how they would fit very easily into a 1930's pantry. I ended up finding some
shortening in my cupboard, so even though you’re seeing butter, I actually used
Crisco in the cake. Initially I was surprised that salt wasn’t one of the
ingredients…until I remembered tomato soup has just a little bit of salt in it.
Like most vintage recipes, this one was pretty light on the
details. I’m sure our grandmothers all knew the baking order of operations by
heart, so specifics like what to sift and what to soften didn’t need to be
written down. I tried to follow the
standard rules I’ve seen in typical cake recipes, so I sifted together the dry
ingredients first, then creamed the shortening and sugar, added the other wet
ingredients to the mixing bowl, and finally added the dry ingredients a little
at a time.

When it was done everything looked pretty ok, so I must have
done all right with my ingredient assembly ad lib.

I hustled the batter into my jars and popped them in the
oven for 25 minutes. The spices became very aromatic as they were baking, and
my kitchen smelled great by the time they came out. They sat in their jars for
about 10 minutes, and then I transferred them onto wire racks to cool
completely. This is also the point where I cleaned the jars and prepared the
frosting. I ended up getting 19 little cakes, but after see how much they rose, I could have filled the jars less and squeezed an even two dozen out of the batter, I'll bet.

Cream cheese frosting assembly. So simple but so good.

Like the beet cakes, this original recipe was for a two-layer
cake, so I cut each of mine in half to create the same effect. Plus there’s
room for more frosting this way.
There were a few anomalies in terms of the proportions of
layers to frosting. Here you can see the Goldilocks Effect as I figure out how
to best slice each piece.

Too tall.

Too short (and a little ugly).

Just right. As soon as I got the hang of it, there were lots of these.

In trying to stay true to a Depression-Era mentality throughout this whole recipe, I felt a little guilty about all of the cake tops that were unused when I trimmed down and sliced the cakes. I ended up with quite a pile of extra, and it seemed like Eleanor Roosevelt would be very disappointed to see these go to waste. So, channeling the WPA, I found some ingenuity and decided to make cake sandwiches with the left-over cake bits and frosting.

The result was not disappointing AND much easier to eat on the go than a cake in a jar. These happy little accidents may be breakfast for the next week or so. As I drive to work, perhaps I'll munch my tomato soup cake sandwich and pretend I'm driving to California to start a new life just like the Okies who probably also had to get on the road before sunrise. I hope they had cake for breakfast once in a while, too.