Wednesday, June 25, 2014

New York Crumb Cakelets

Okay, this post is going to be short because as soon as it's done I'm leaving for the lake.

I bookmarked Martha's recipe for New York Crumb Cake a couple of months ago, but during the school year, breakfast pastries have no place in the clockwork of my morning routine, which is engineered to let me eke out as much sleep as possible while still getting to work on time. (This year I was down to 45 minutes between the moment my alarm went off and the time I usually pulled out of my driveway…and that included time for two rounds with the snooze button). However, now school is out for the summer, and the pace of my mornings is luxuriously gentle. There is time to sip coffee, watch birds, and enjoy a little cake for breakfast.


Here are the components – all pretty basic again. I chose to add cardamom in along with the cinnamon for the crumble topping, and I think some chopped pecans would be great in the mix next time. Mixing some fresh berries, apples or peaches into the cake batter would also be a great idea that I literally just though of as I typed that last sentence. Darn it! Sigh. Oh well. The recipe came together in two simple parts.


In the first part I prepped my jars by spraying them with non-stick cooking spray and cutting parchment paper discs to line the bottom of each. Once the batter was mixed, I portioned it into the jars. The recipe is originally intended for a 9x13 pan, and from that I was able to fill 14 jars. If I'd added 1 cup of fresh fruit, it probably would have stretched the batter to fill closer to 18 jars. I knew the batter would rise as it baked, so I was conservative and only put a couple of tablespoons of batter in each.

The second part of the recipe was for the crumb topping. All of the sugar and spice goes into one bowl, then two sticks of melted butter get mixed in…


…and out comes a crumble topping that both looks and smells amazing. Again, here I adjusted the recipe from 1 ½ teaspoons of cinnamon to 1 tsp cinnamon and 1 tsp cardamom. About  a half-cup of chopped pecans (or almonds, or walnuts…choose your favorite nut) would have also rounded out the flavor and added some variation to the texture of the topping.


When I evenly distributed the crumble topping, it filled all 14 of my jars right up to their tops. This was actually a little problematic when the cake batter rose during baking. Some of the crumbles spilled over the tops. Then again, the visual appeal of these little cakes literally bursting with crumbled sugar and spice was pretty great, so maybe not so problematic after all, as you can see below.


The recipe called for 20 minutes of baking, but I adjusted that to closer to 30. When I checked them with a toothpick at 25 minutes, the jars placed on the outside of my baking sheet were done, but those in the middle needed the full half hour to set properly.


This recipe was a breeze to make. I feel like I’ve been saying that a lot lately, so perhaps my next project will tackle something more complicated. Then again, it is summer vacation. Maybe I’ll track down a recipe for some 4oz. popsicles…


Tuesday, June 17, 2014

Free-Form Hand Pies with Herb Jam and Cream Cheese Filling


 Confession the first: I love poptarts. I don’t eat them anymore because my conscience can’t get over the one-two punch of low nutrition value + high calorie count, but in high school, a cold poptart was my morning snack of choice (the after school snack of choice was a plateful of pepperoni pizza rolls, fyi. I don’t eat those anymore either…because I’m old and they give me heartburn. Sigh).  Toasted poptarts were even better, as long as I didn’t get greedy and try to take that first bite too soon. Every kid who grew up and snacked during the 90’s has suffered from the agony of having a burnt tongue from the scalding insides of the junk food triumvirate: poptarts, pizza rolls, and hot pockets.

With snack-related childhood traumas in mind, I taste-tested this week’s recipe not without a modicum of caution (and nostalgia). Thankfully, my old age has apparently granted me a little more patience when it comes to first bites; I avoided a burnt tongue this time around, and I was delighted with the flavor and texture combination of tangy fruit and sweet (but not too sweet) cream cheese filling nestled inside a flaky pie crust pocket. These are so much better than store-bought poptarts, and probably a little healthier?

Today’s recipe actually started percolating in my imagination a few weeks ago when I got an amazing early birthday present from a good friend of mine: a Handheld Pies cookbook. This recipe book has instructions for lots of different 4oz fare: sweet and savory, free-form and structured, open-face or crust-topped. Basically, I could prepare one item from this book every week and have new blog posts for the rest of the year.

The other great feature of the Handheld Pies cookbook is the index of general instructions; they lay out the basic mechanics of making various types of miniature pastries so it’s easy to adjust and ad lib recipes based on what ingredients you have on hand. Or, in my case this week, what ingredients you have to get rid of. In the same way stir fry or stew are great catch-all dishes to use up a mishmash of veggies in your fridge before they go bad, these free form hand pies are a great vehicle to utilize the last bits of fruits and jams that may be on the verge of spoilage. Sidebar: If stew and stir fry aren't your thing, there’s also a whole world of savory handheld pies if you’re looking to dispose of meat/cheese/veggies. But that topic will be saved for the “Make Your Own Hot Pockets” post, which seems more appropriate for winter time. So today we’re focusing on sweet things.


To start, I planned out my ingredients. I had three different kinds of jam that I was trying to use up, and you guys know how much I like my fruit-and-herb flavor combinations. I decided to add basil to the strawberry jam and lavender to the blackberry. The last jam flavor I had was rhubarb-hibiscus, the flavor of which I didn’t want to muddle with any additional ingredients. I mean, even this herb-obsessed blogger has her limits.


 I started with about half a cup of the strawberry and blackberry jams. To the strawberry, I added about 1 ½ teaspoons of fresh minced basil, and to the blackberry I added about ¾ teaspoon of culinary lavender. I did this right away so the flavors had plenty of time to fuse while I prepared the crust.

Once the ingredients were decided, I rolled out the dough. Confession two: I used pre-made pie crust for this recipe instead of preparing my own from scratch. In retrospect, I think for this recipe, making my own would have been smarter because the pre-made dough is circular, whereas I needed rectangles for these hand pies. In the time I spent rolling, cutting, and reshaping my round dough into the shape I needed, I probably could have whipped up the real deal. I’ll remember that for next time. But I digress. 


Here is my work space half way through the rolling-and-cutting process. Top and bottom crust for one pie gave me enough dough to make nine 3x4-inch pies. Conveniently, the 9 portions fit perfectly on my baking sheet.


The cream cheese filling that I used as the base for all the hand pies comes from a Martha Stewart recipe for strawberry basil tarts. It’s very simple: one 8 oz. block of cream cheese + ¼ cup sugar. Mix. Spread. Enjoy. I like using this base with fruit fillings because just the jam alone could be a little overpowering in terms of sweetness and texture. The cream cheese gives a solid bottom layer for the fruit to sit on, and cuts the sweetness with a little bit of bite. I think adding even less sugar – more like 1/8 cup – would be fine considering the sweetness of the strawberry and blackberry jams. Perhaps mixing in some goat cheese would also add a stronger, sharper contrast to the fruit. Adding the herbs to the cream cheese instead of (or in addition to) the jam would also be a viable option.


Next up: The step wherein the baker learns how damn runny her stupid strawberry jam is. This got a little ugly, but I tried to evenly spread a couple of tablespoons of each of the jams over the cream cheese mixture. I wanted to keep a half to a quarter inch of space around the edge of each pie to seal to the top layer. Some attempts at achieving this were clearly more successful than others.


Okay, so I managed to wipe the excess strawberry juice from the edges of those pies to make enough of a boarder for the top crust layer to connect with. To seal the pies, I ran a layer of egg wash over the bottom crust, laid the top crust gently over the filling, and then firmly pressed around the edges. I was so preoccupied worrying about my strawberry juice that I forgot to use a fork to crimp the edges as the final step. This didn’t seem to matter much in the big scheme of things. Once all the tops were on and sealed, I put a layer of egg wash over the entire top crust and dusted each with some sugar for texture and visual appeal.

To help myself distinguish between jam varieties, I sprinkled some extra minced basil over the strawberry pies and some lavender buds over the blackberry ones. I also used a toothpick to prick holes in the pie tops for proper venting while they were in the oven. However, before baking, I chilled these in the freezer for half an hour, and it really seemed to help them keep their shape during the baking process. Definitely do not skip that step if you try this at home.


The pies baked in a 375 degree oven for about half an hour. When they came out, I let them set on the baking sheet for about 10 minutes before transferring them to a wire rack to cool completely. You may notice that there are only 8 pies on the rack below, while there were 9 when they went into the oven. One of the blackberry pies may have fallen onto my kitchen floor and splattered into a steaming hot and presumably delicious pile of pastry while I was transferring it to the wire rack. A sacrifice to the kitchen gods, I suppose. Maybe said gods were pleased with my offering and rewarded me by protecting my tongue from being burned when I did my taste test a few minutes later.  


Anyway, these were easy to make and even easier to eat. And they are, like I’ve said before, incredibly versatile. They would be a perfect addition to a 4th of July potluck, an outdoor concert picnic, or any other summer activity demanding finger food at its finest.


Sunday, June 8, 2014

Blueberry Sour Cream Tartlets with Orange Zest and Almonds

The alternative title for this post is “Tart crust gives me high blood pressure” (back story to follow).

What, I ask you, is the best way to spend a hot, mid-June night? If you answered, “In the same room as a 400°F oven for multiple hours,”  then we are kindred spirits! Last night I made blueberry sour cream tartlets, and by the end of the process I may have been suffering from mild heat stroke and/or borderline dehydration. But it was worth it.

Berry season is in full swing, and a good locavore would patronize the nearest farmer’s market to stock up on home-grown tart filling ingredients. Alas, this locavore is rather given to impulse baking decisions, so, since I didn’t make up my mind to bake with berries until early evening when the farmer’s market was already closed, the blueberries I used for this recipe actually came from a supermarket. Please don’t judge me.


Locally-sourced or not, these desserts were easy to prepare (finicky tart crust notwithstanding), and they’re not aggressively sweet, so they’re perfect for breakfast as a companion to iced coffee or as an after-dinner treat. I took my recipe from this delightful website that apparently specializes in Texas cooking.  I did tweak the instructions a bit, adding a couple of other flavor components I’d seen included in other blueberry tart recipes – namely, I added some nutmeg into the crust along with the almond extract already called for in the recipe, and about a teaspoon of fresh orange zest went into the filling to punch up the lemon juice and provide some brightness to balance out the sweetness of the berries.

Speaking of Texas, this week’s post is dedicated to one of my colleagues in the English department who retired this year. She and her husband are moving to Austin, TX as I type this. She was an asset to our department in innumerable ways, and the rest of us are positive that replacing her in any equitable capacity will be nearly impossible. But we’re excited for her to start a new adventure. Texas is lucky to be adding such a singularly bright, genuinely kind, and unfailingly good person to their population.

Anyway, sentimentality aside, let’s get on with the baking --


First and foremost, as usual, the ingredients for crust and filling. Nothing too fancy going on today, just fresh fruit and strong flavors to complement it. Also, I got to haul out the ol’ food processor yesterday night to make the dough, which is always fun.


Here the dough post-processor. Every time I make tarts, I forget that the dough is really the trickiest part. Protip: “I’ll just eyeball it” is NOT an appropriate attitude with which to approach the addition of tiny, precise measurements of potent substances ( like 1/8 teaspoon of almond extract) to delicate mixtures (like tart crust dough). I learned this the hard way.  You see, the primary rule of tart crust is “Thou shalt not overwork thy dough,” which means the combining process needs to happen in the shortest, smoothest way possible. Of course, this pressure stresses me out, so I end up getting flustered when the butter pieces stick to the bottom of their container and, by the time I’m done dislodging the last of them and cramming them down the food processor chute, I realize with dismay that I’ve surpassed the 30-second window the recipe advises should be the maximum for blending this dough. And I still have to add the last, liquid ingredients to the mix! So, at this point I’m at Tension Defcon 5 and there’s no time for teaspoon measures, so “I’ll just eyeball it” happens…and THAT, ladies and gentlemen, is how one ends up with 400% of the recommended amount of almond extract in their tart crust. Learn from my mistakes. Stay cool in the kitchen. And use your damn measuring spoons – always.

After the dough was done, both of us needed a good hour to chill before moving on to the next steps. (This may or may not also be the point during the baking process when a bottle of wine was opened…)


After the dough was chilled, I rolled it out between sheets of wax paper. Then, for the Crust-Cutting-And-Placing Process, I got to break out my new fillet spatula, which is very useful for handling delicate materials. I also re-purposed the fancy martini glasses I received as a gift a few years ago. Their rims were the perfect size to cut round dough pieces to fit my ramekins, and it was really nice to have a uniform measure rather than hand-piecing the crust into each dish separately. 


The original recipe makes a 9’’ tart, and I was able to get six mini-tarts from the same dough. Next time I might make a bit more dough, maybe 1.5X the recipe, so I don’t have to eke out that sixth crust. Also, there would have been enough filling for a seventh tart if I would have budgeted my portioning a bit better. But I’m getting ahead of myself.


The crusts go into the oven by themselves for 15 minutes, then I take them out, fill them, and bake them for another hour or so. (Insert “half-baked” joke here. Har har.) During the first round of baking, I had them covered in foil and filled with pie weights, but that step leaves them looking rather un-dignified, so I spared the poor things the embarrassment of being photographed in such a state. Here they are post-foil, waiting to be filled.


Here is the sour cream base for the filling. Like I said earlier, I added a teaspoon of fresh orange zest to the sour cream mixture, and the tangy citrus flavor came through very well. In fact, in the future I might adjust the orange zest to just a quarter or half teaspoon so the milder flavor of the blueberries and almonds isn't overpowered. I like how sour cream tarts and cakes are more moist but much less cloying than other desserts. It’s nice to tap into lighter options like these when the weather gets warm. We’re still missing something, though, aren’t we?


Aha – berry nice! Once the blueberries are folded in, the crusts can be filled, and we’re almost done.


Got some interesting textures going on here. Looking at these, I remember hoping they'd come out tasting like summertime and not just feel like lumpy custard. In retrospect, I wish I'd topped these with some slivered almonds and perhaps sprinkled some coarse sugar on top. The almond flavor is so delicate that it's easily lost in the mix. (And speaking of unpleasant textures, I have pictures from a recipe I made over Memorial Weekend for S’more Pie that I may or may not publish here eventually – maybe in something akin to a blooper reel that I’ll put together after I’ve collected a nice variety of screw-ups. In the case of the s’more pie attempt, the graham cracker and chocolate components were on point; however, the marshmallow topping was a monumental debacle in the consistency department: think of the skin that forms on pudding…only half an inch thick).


After nearly an hour in the oven, blueberry sour cream tartlets are done and, though maybe not gorgeous, I think their misshapen asymmetry is endearing. Something store-bought would never look this funny, but it would also never taste this good.  And look at the inside, too. The fresh berries infuse the whole tart with  aromatic sweetness -- and that color! So many senses can engage with this dessert. Some of the recipes I previewed had the sour cream base prepared and baked separately and just dumped the berries on before serving, but I much prefer this berries-in-the-mix approach.  


Overall, I was pleased with the way this recipe turned out, and it could be varied easily to suit whatever fruits happened to look good at the farmer’s market (if, unlike me, you can plan that far ahead). The spices and accent flavors in the crust can also be modified to suit different fruits. I’ve never been a huge fan of almond extract (though I didn’t mind it here), and I’ll bet a cardamom-infused crust would taste great with a peach-filled tart, 
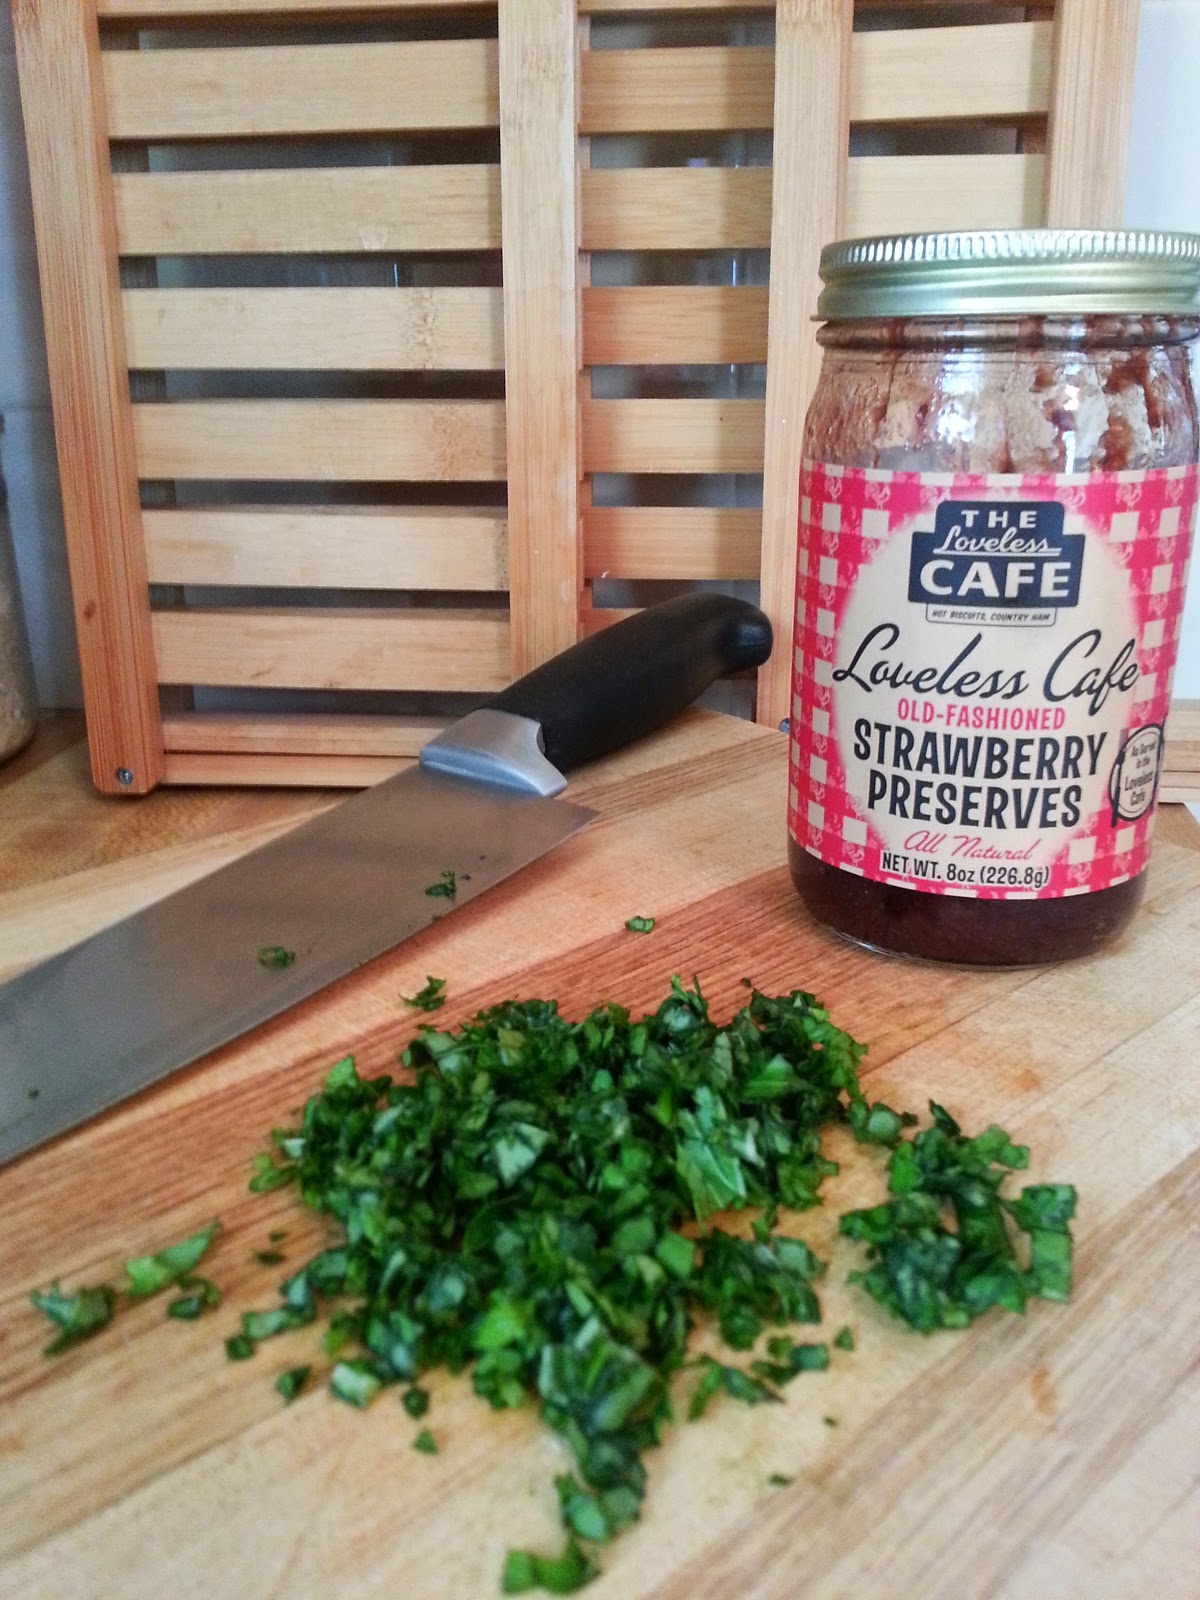
or a basil-infused crust with strawberry filling, or perhaps even rosemary crust with chocolate chunks  – the possibilities are delightfully endless.