Sunday, November 16, 2014

Spicy Chocolate Pie with Cinnamon Whipped Cream

We're in the middle of our first real snowfall of the winter here in Grand Rapids, so all I can think about is staying in and keeping warm. This chocolate pastry is an adaptation of the Chocolate Chess Pie recipe from Nothing in the House. I combined all the warmest flavors I could think of to transform the basic chocolate filling into a super nova of flavor. I also added a mildly sweet cinnamon-infused whipped cream to round out the finished product.


The ingredients to this recipe are always delightfully basic. The point of chess pie (and most of the recipes from Nothing in the House, hence its moniker) is that it can be prepared without a lot of special purchases. To the lineup of usual suspects (flour, sugar, butter, &c.), I added cinnamon, cayenne pepper, and some almond extract I happened to have on hand. These flavors were meant to be reminiscent of Mexican chocolate, but the almond component could probably be omitted (or increased, if you feel adventurous), because I couldn't taste it in the finished product.


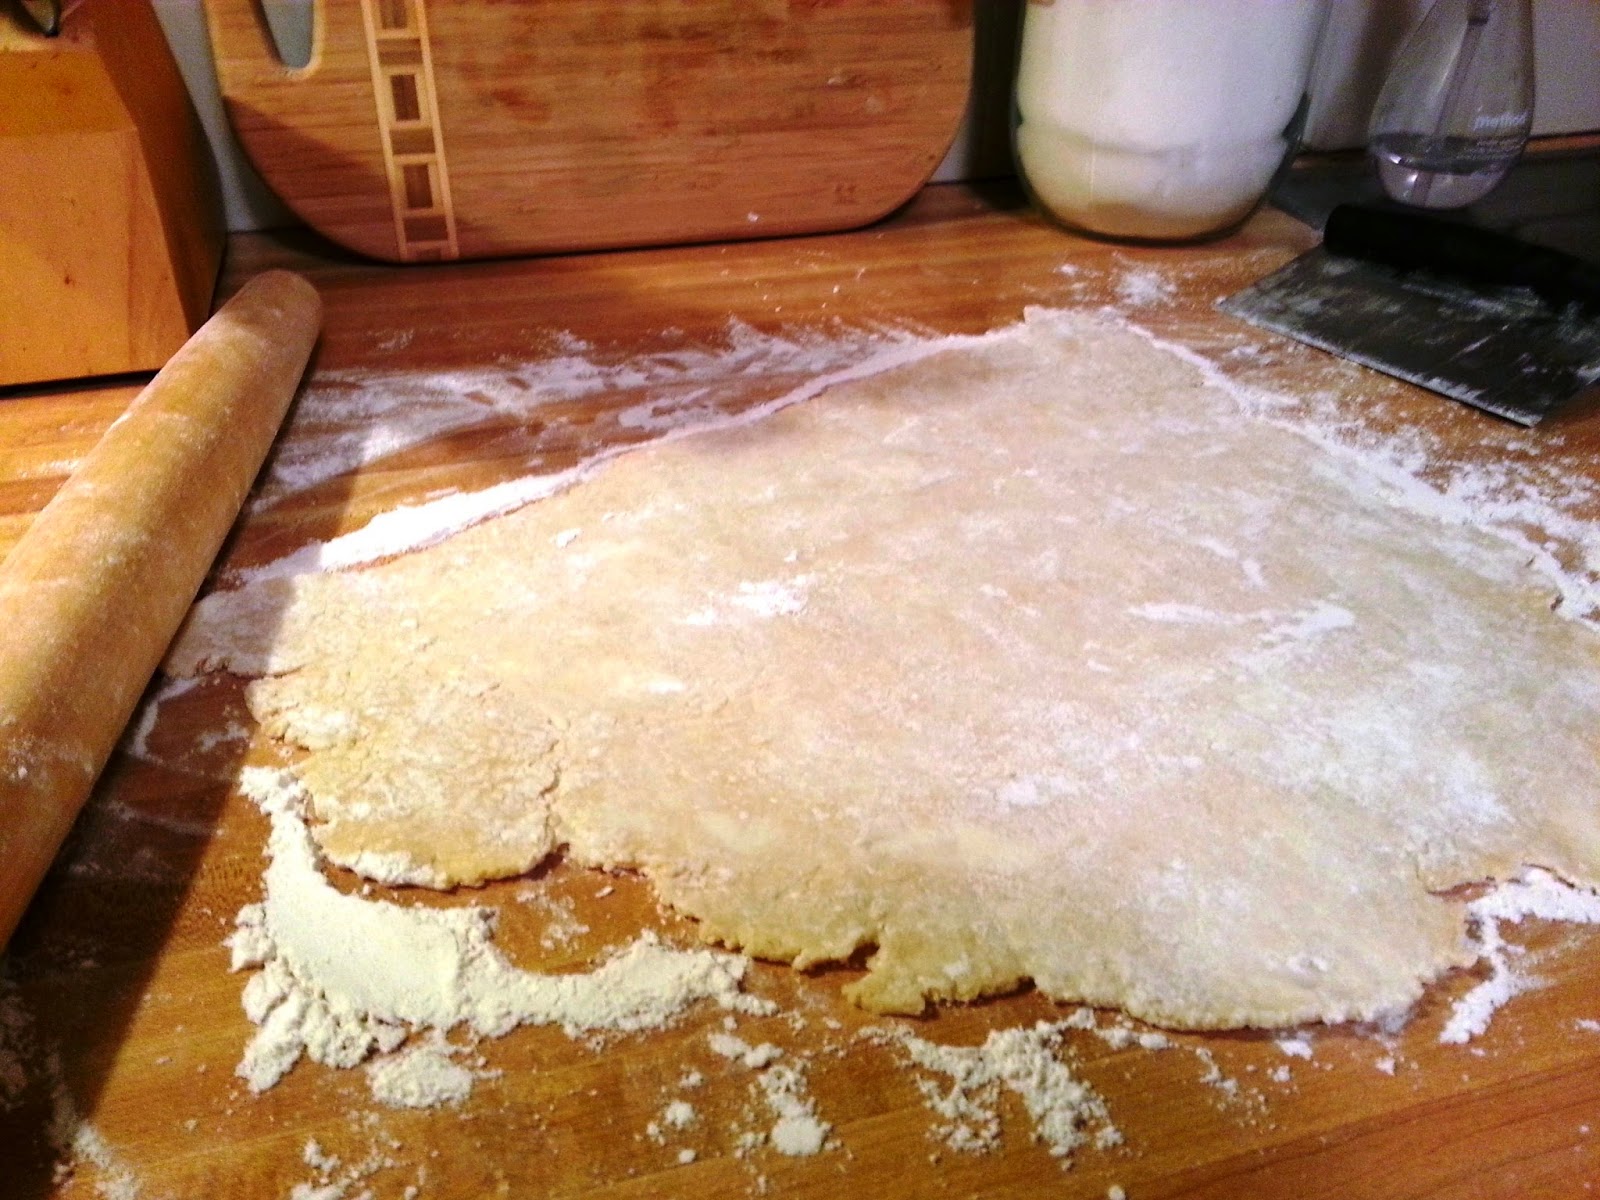
Since I'm always committed to honing my craft, I went ahead and made my own crust for this recipe. The Nothing in the House Pie Crust came together nicely, and I didn't even have to get out my food processor, though I did use the cheese grater to "slice" my cold butter (ever since that Szarlotka, I've been seeing this handy tool in a whole new light). The full recipe gave me enough crust for six miniature pies along with plenty of extra dough left over, and the filling batter divided between them perfectly. The kitchen gods seem to be smiling on me this time around...


After about 50 minutes in the oven, my spicy chocolate pies were filling the kitchen with delectable aromatics, and I'd almost forgotten that the snow was busy piling up outside. Then I opened my window to set the pies out to cool, and reality set in. Truth be told, I'm not dreading winter; after all, it's not hard to embrace a season that gives me both plentiful snow days AND a reason to keep my oven on full-blast for months and months on end. 


Sitting in the path of some snowy downdrafts for a few minutes did wonders to bring my pies down to a reasonable temperature, and after about 15 minutes, they were cool enough to handle some topping. I took this recipe for cinnamon whipped cream and cut it in half, plus I decreased the confectioner's sugar even more so it would add creaminess to the spicy flavor without being overpoweringly sweet. 


I finished off my spicy chocolate pies with a generous dollop of the home-made whipped cream and a light sprinkling of extra cinnamon, and of course, a taste test was necessary after that. I managed to stop myself after eating just half of one, but I could have easily kept going. The whipped cream balances out the cayenne for just the right amounts of heat and richness, and the cinnamon and chocolate are the perfect winter combination.


Spicy Chocolate Chess Pie 
adapted from Nothing in the House

For the Pie:
Nothing in the House pie crust (whole recipe for six 4-oz ramekins)
1/2 c. (one stick) butter
2 oz. (2 square) bittersweet chocolate
3/4 c. white sugar
1 Tblsp. yellow cornmeal
2 large eggs, beaten well
1 tsp. ground cinnamon
1/2 tsp. vanilla extract
1/2 tsp. almond extract
1/4 tsp. cayenne pepper  (or more, to taste)
1/4 tsp. salt

For the Cinnamon Whipped Cream:
1 c. heavy cream, cold
1/4 c. confectioner's sugar
1 heaping tsp. ground cinnamon
1/4 tsp. vanilla extract

Directions

For the Pie
Prepare the Nothing in the House pie crust and chill dough at least 1 hour before rolling out and fitting into six greased and floured 4-oz ramekins. Alternately, prepare half the recipe to fit one 9-inch pie pan.

Preheat oven to 325 degrees F. Put rolled and fitted crusts back in the refrigerator while you prepare the filling.

Melt the butter and chocolate in a small saucepan over med-low heat for 5 minutes until they make a smooth sauce. Remove from the heat and pour into a medium bowl.

Add the sugar and cornmeal to the chocolate mixture and stir until well combined. Then add the eggs, vanilla, almond, spices, and salt. Whisk until evenly mixed.

Place the ramekins on a cookie sheet and pour the filling into the pie crusts. Then place the cookie sheet on the bottom rack of the oven. Bake until the pie filling has puffed and formed a crusty top, and crust is golden brown, about 50 minutes  for ramekins, or 50-60 minutes for a normal-sized pie pan. 

Remove pie from oven and let cool until still slightly warm -- about 30 minutes -- while you make the whipped cream.

Serve pie warm or at room temperature with a dollop of cinnamon whipped cream and a dusting of ground cinnamon.

For the Whipped Cream

In a large bowl with a mixer set on med-high (or a hand-mixer using the whisk attachment), beat cream, sugar, cinnamon, and vanilla until stiff peaks form, about 3-5 minutes. Do not over beat. 

Extra whipped cream can be stored in an airtight container for 2-3 days.

Serve pie warm or at room temperature with a dollop of cinnamon whipped cream.


Sunday, November 9, 2014

Almond & Earl Grey Teacup Cakes

When I was in college, a little branch of the Espresso Royale coffee shop operated in the Michigan Union across the street from my dorm (the lovely dorm, where Emily-of-the-Harvey-Wallbanger-Glaze-Show-Down and I lived with lots of other awesome people when we were just kids). Anyway, back in those days Espresso Royale sold a drink called the Dharma Bums. It consisted of equal parts Earl Grey tea and steamed milk flavored with almond extract, and it was my favorite drink for most of sophomore year. Since graduating, I’ve tried to recreate the Dharma Bums myself many, many times, but something is always missing. Kind of like when I’ve tried to read the book The Dharma Bums expecting to find the same feeling I got from On the Road (that’s right, leave it to an Ann Arbor cafĂ© to adopt a lesser known Kerouac title as an eponym. Hail!). Yet somehow, today's mini-cakes have found a way to hit just the spot of the real Dharma Bums drink on my pallet. They burn, burn, burn like fabulous, sugary, roman candles on the tongue. They’re decadent but delicate, intense yet complex. And they’ll drive you mad. I promise. 


I found the recipe for Almond and Earl Grey Teacup Cakes in the book trEATs by April Carter.  The original recipe is meant to be prepared in actual tea cups to produce a final result that is Pinterest-caliber adorable, I'm sure. However, creature of habit that I am (and due to the fact that I don't have eight visually appealing tea cups on hand), I oped to use my trusty 4oz jars in my version of this recipe. The directions assured me that any 4oz vessel would serve, and I found this to be true to a point. I ended up with ten jars-ful of cake, two of which were precariously overfull. So really, in down-scaling this recipe from tea cups to jam jars, I would've been able to increase the yield to a comfortable, round dozen little cakes. 


Besides the redistribution of portions, I prepared the recipe as it was written and, like I mentioned earlier, I was exceedingly pleased with the results. In fact, I received trEATs as a birthday gift this summer, and since then, though  I’ve paged through lots of times, I haven’t taken the initiative to actually prepare anything from this collection until today. And now I wonder what other crazy awesome desserts I’ve been missing out on over the past five months. Sheesh.


These cakes combine the light flavor of almond with classic Earl Grey tea to create a depth of flavor that belies the simple baking process. Read: tastes fancy, bakes easy. FANTASTIC.


The recipe starts out asking the baker to gather some basic ingredients. TrEATs does a nice job of listing ingredients by weight and volume, and for specialized items it offers options or equivalents. For instance, it told me that caster sugar - something isn't as common in American baking as it is in England - could be replaced with superfine sugar, which I already had in my pantry.


The tea steeped in a milk and vanilla for about 15 minutes while I prepared the other ingredients. I used Earl Greyer from The Republic of Tea for my tea bags, and the flavor came through very distinctly, which I think improved the final product. 


While the tea was brewing, I combined the butter, sugar, and eggs, and then prepared the dry ingredients. The recipe called for ground almonds, which I made myself by running some slivered almonds through my mini-food processor. I think starting with slivered almonds instead of whole was better since the skins from whole almonds may have affected the consistency of the batter in the end. As it was, some larger chunks of almond still made it into my finished cakes, but I didn't mind the extra texture. If I'd used the full-size food processor, I would have probably ended up with a finer grind on the almonds (a coffee grinder would work well here too, if you have one...fancy pants), but that seemed like a lot of set-up and clean-up for one ingredient. #LazyKitchen.


I finished the batter by combining the milk/tea mixture, dry ingredients, and butter/sugar/egg mixture in alternating portions, then I filled my jars. Like I said before, the recipe claims that if I'd used real tea cups, I'd've ended up with eight servings. I filled 10 of my 4oz jars, and two ended up overflowing, so I really feel like a dozen would have worked out best.


Out of the oven after about 20 minutes, I left the mini-cakes to cool on my window sill while some cold, wet, November night air blew over them. At this point, they already tasted amazing (a discovery I made while nibbling on one of the edges that overflowed and thus offered itself up as a sacrifice to the culinary deities of this kitchen), but they weren't much to look at. Thankfully, the toppings went a long way to enhance their visual appeal.


While the cakes sat in the window, I kept the oven on and toasted the remaining almond slices for 12-15 minutes. I stirred them half way through, and as soon as they became aromatic and I knew they were almost ready. I toasted more than the recipe called for, because I planned to use the extra on salads or for a garnish when I make soups (which happens quite a lot this time of year...definitely more often than the salad thing, if we're being honest).


Once the cakes were totally cool, I made the powdered sugar glaze, drizzled it over the cakes, then sprinkled some of the toasted almond slices on top of that. The final step was to dust the cakes with a little more powdered sugar. 


Confession: I ate one almost immediately after I'd finished decorating them. My intention was to try a bite or two so I could accurately report on the flavor for this post, but once I dug in, I found it extremely difficult to put down my fork.


The things I bake don’t surprise me very often... (bad surprises arising from ill-planned experiments notwithstanding -- see the Maple Banana Whoopie Pie post from this past August. Hrmph). Don’t get me wrong, cakes and pies are tasty, and making them is really fun…but as far as sweets go, I’ve been around the proverbial block quite a few times, so there’s not a lot that genuinely catches me off guard anymore. However, this recipe was one of those rare instances that left me legitimately impressed. I wonder if Sal Paradise would approve. Something tells me he's more of an apple pie man, so I'm not entirely sure. 

Almond and Earl Grey Teacup Cakes
from trEATs by April Carter

For the Cakes:
120 ml (4 fl oz) milk
1/2 tsp vanilla extract
3 Earl Grey tea bags [I used Earl Greyer from Republic of Tea]
120g (4 oz or 8 Tbsp) unsalted butter
225 g (8 oz/1 cup) caster (superfine) sugar
2 large (US extra large) eggs
100 g (3 1/2 oz/4/5 cup) all-purpose flour
75g (2 1/2 oz) ground almonds (a generous 1/2 cup)
1 tsp baking powder

For the Topping:
50g (2oz) slivered almonds
125g (4oz / 1 cup) confectioner's sugar plus extra for dusting
4-5 tsp warm water

Directions:
Preheat the oven to 170°C (340°F – I used 350° because I’m a rebel). Butter 8 teacups or ramekins with 120 ml (4 fl oz) capacity, and place them on a baking tray. [Again, if you're not using real tea cups, I recommend 12 4oz jam jars. I put them in a muffin tin instead of a baking sheet so the jars don't slide around.]

Warm the milk, vanilla and tea bags in a small saucepan over a medium heat until the liquid is just bubbling. Set aside to cool.

Using a food processor with the beater attachment [I used a regular mixer and was content with the results], beat the butter and sugar until the mixture is pale and creamy. Add the eggs to the butter mixture one at a time, beating after each addition until they are well incorporated.

In a clean bowl, sift the flour, ground almonds, and baking powder, and stir to combine. Then, remove the tea bags from the cooled milk, making sure you squeeze them first to extract all of the flavour. Still using the food processor [or hand mixer...fancy pants], beat in half of the flour mixture to the butter mixture, and then beat in half of the milk mixture. Repeat with the rest of each mixture and scrape down the sides of the mixing bowl to make sure that all of the ingredients are well incorporated.

Divide the mixture between the teacups or ramekins [or lovely, traditional 4 oz jars #NoBias], filling each one until it is two-thirds full. Bake for 18-20 minutes, until the cakes are golden brown and springy to the touch [and a toothpick inserted into the center comes out clean].

Set them aside to cool.

Leave the oven on at 170°C (340°...or350°F). While your teacup cakes are cooling, you can toast the almonds: place them on a baking tray and bake in the oven for 8-10 minutes [stirring half way and watching them carefully toward then end so they don't over bake], or until they're golden brown.

Next, it's time to make the glaze, which is as easy as combining the icing sugar with the warm water in a bowl [and whisking until it's completely smooth].

Once your teacup cakes are completely cooled, you can decorate them with the topping: drizzle the glaze over the top of each cake, then finish with a sprinkle of toasted almonds and a dusting of icing sugar. Store in a tin or an airtight container for up to 3 days.